使用Python自动上传或更新Markdown文章到WordPress
工具
- python-wordpress-xmlrpc
- python-markdown
- python-frontmatter
思路
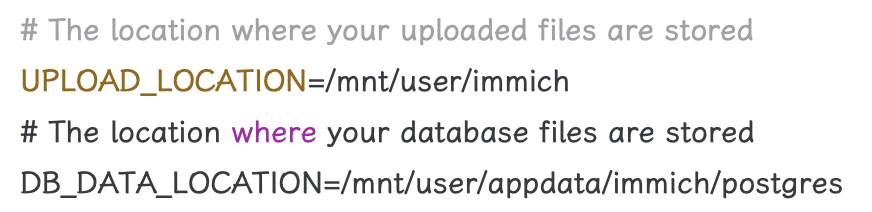
Markdown 写文章免除了排版的苦恼,适合简单记录。以前使用 Hexo 发布文章,在开头往往需要打上分类、标签等方便查找。我一般使用Jekyll-style YAML格式在 Markdown 文件开头建立元数据,如下图所示。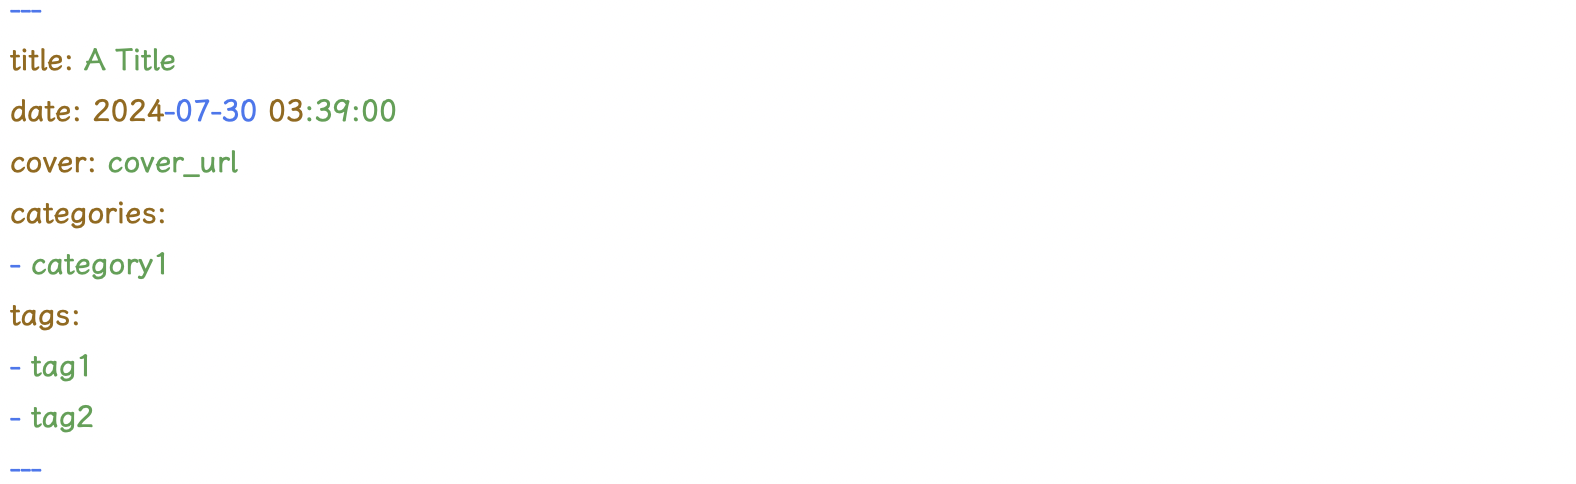
现在我要同时发布文章到 Hexo 和 WordPress,查找了些资料,整理出一个 Markdown 直接发布到 WordPress的思路: - 使用
python-frontmatter库识别Jekyll-style YAML格式文件的元数据和内容。 - 使用
python-markdown将 Markdown 格式内容转换成 Html 形式。 - 使用
python-wordpress-xmlrpc调用 WordPress 的 xmlrpc 接口进行文章上传、修改等操作。代码
获取 Markdown 文件数据
1
2
3
4
5
6
7
8
9
10
11
12
13
14
15
16
17
18
19
import datetime
import frontmatter
import markdown
# 获取 Markdown 文件信息
def parse_markdown(path):
post = frontmatter.load(path)
post_title = post.metadata.get('title', None)
post_tags = post.metadata.get('tags', None)
post_category = post.metadata.get('categories', None)
post_thumbnail_url = post.metadata.get("cover", None)
date = post.metadata.get('date', datetime.datetime.today())
post_date = date
post_content = convert_md2html(post.content)
return post_title, post_tags, post_category, post_date, post_content, post_thumbnail_url
# 将 Markdown 转为 Html5
def convert_md2html(content):
return markdown.markdown(content, output_format='html5', extensions=['extra'])初始化上传工具参数
1
2
3
4
5
6
from wordpress_xmlrpc import Client
WORDPRESS_XMLRCPATH = "https://your_wordpress_domin/xmlrpc.php"
WORDPRESS_USER_NAME = "your user name"
WORDPRESS_USER_PASSWD = "your user password"
wp = Client(WORDPRESS_XMLRCPATH, WORDPRESS_USER_NAME, WORDPRESS_USER_PASSWD)将题图 cover 上传到 WordPress
1
2
3
4
5
6
7
8
9
10
11
12
13
14
15
16
17
18
19
20
21
22
import requests
from wordpress_xmlrpc.compat import xmlrpc_client
from wordpress_xmlrpc.methods import media
def upload_image_if_needed(image_url):
if image_url is None:
return None
# 从链接下载图片
image_content = requests.get(image_url).content
# 从链接获取图片文件名
image_name = image_url.split("/")[-1]
# 从图片文件名获取扩展名
image_fe = image_name.split(".")[-1]
# 构建上传数据
imageData = {
'name': image_name,
'type': f'image/{image_fe}',
'bits': xmlrpc_client.Binary(image_content),
}
# 上传图片并获得图片id
response = wp.call(media.UploadFile(imageData))
return response.get('id', None)将文章上传到 WordPress
1
2
3
4
5
6
7
8
9
10
11
12
13
14
15
16
17
18
19
20
21
22
23
from wordpress_xmlrpc import WordPressPost
from wordpress_xmlrpc.methods.posts import NewPost, EditPost
def publish_post(post_file_name, post_title, post_tags, post_category, post_date, post_modified_date, post_content, thumbnail):
# 新建文章
post = WordPressPost()
# 设置文章元数据
post.title = post_title # 标题
post.date = post_date # 发布时间
post.modified_date = datetime.fromtimestamp(post_modified_date) # 修改时间
terms_names = {
'post_tag': post_tags, # 标签
'category': post_category, # 归档
}
post.terms_names = terms_names
post.thumbnail = upload_image_if_needed(thumbnail) # 特色图片
post.post_status = 'publish' # 设置状态为已发布
post.comment_status = 'open' # 打开评论
# 设置文章正文
post.content = post_content
# 上传
post_id = wp.call(NewPost(post))
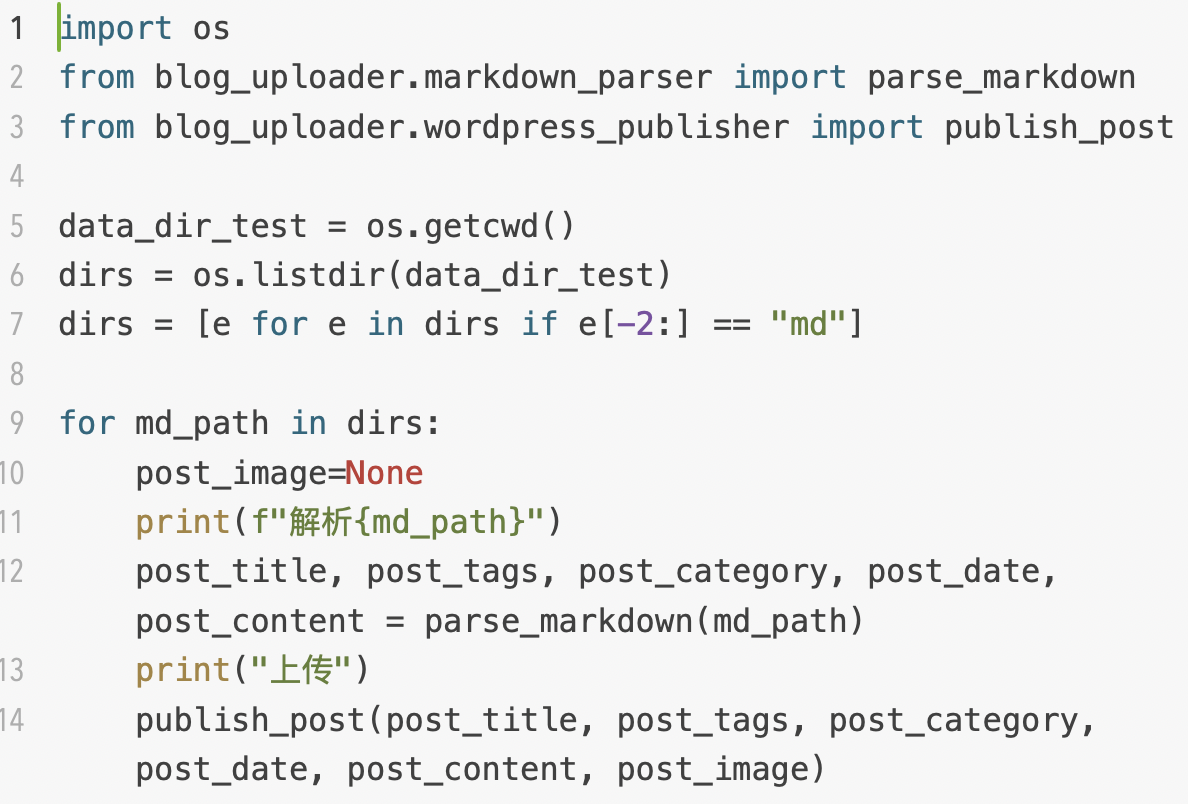
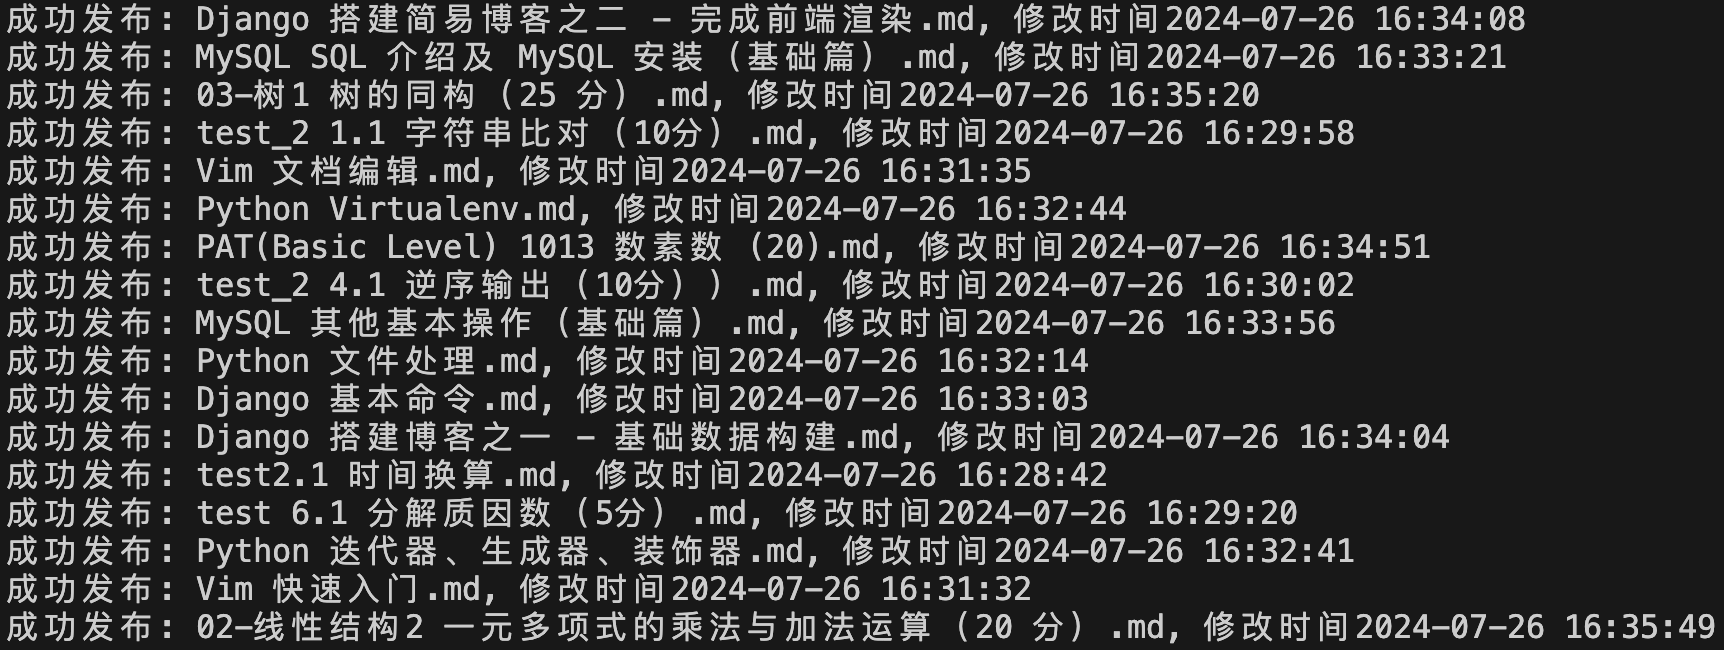
print(post_id)正式上传
做好前面的准备工作以后,就可以开始正式上传1
2
3
4
5
6
7
8# Markdown 文件
md_path = "one_md_file.md"
# 获取 Markdown 文件数据
post_title, post_tags, post_category, post_date, post_content, post_image = parse_markdown(md_path)
# 获取文件修改时间
post_modified_date = int(os.path.getmtime(md_path))
# 上传到 WordPress
publish_post(md_path, post_title, post_tags, post_category, post_date, post_modified_date, post_content, post_image)The Next
或许你已经注意到了,publish_post函数中的第一个参数md_path和EditPost函数并没有用到,这是因为文章更新功能已经实现,但上述代码没有体现。这里提出一种思路: - 文章、图片上传成功以后,WordPress 会返回该资源的 id。
- 维护一张本地文件名、修改时间和 id 关系对照表。
- 每次上传时,扫描所有文件,如果文件名在对照表中不存在,则上传到 WordPress 并在本地存储其 id。如果文件已上传,则与本次存储的最后修改时间做比较,决定是否更新上传。
这部分代码实现并不困难,每个人都可以有自己的思路,如果哪位友友特别需要请留言,或许我会考虑整理一下再写篇博文具体介绍,或者把完整代码分享到我的博客或者Github。
本博客所有文章除特别声明外,均采用 CC BY-NC-SA 4.0 许可协议。转载请注明来自 Yeureka!